VPN Start Before Logon on Windows
The following instructions show you how to use the Cisco AnyConnect VPN client on an AIC provided Windows computer by starting the client before you log into Windows.
Important note about accessing file services: after following these instructions, you will automatically have access to all of your on site printers, drive mappings (e.g., H: and G: drives) and associated files.
Always remember to save and close open files before you do any of the following:
Doing so will help ensure that the files remain accessible from your laptop and office computers, and will ensure that the files don’t become corrupted.
At the Windows 10 login screen, first connect to your Wi-Fi network by clicking on the Wi-Fi fan on the bottom right-hand corner of the login screen.
It will look like this:  or it may look like a Globe
Select your Wi-Fi network from the list that appears and connect to it.
Once you're connected to your Wi-Fi network, click on the Network sign-in icon in the lower right-hand corner of the screen. Note that your laptop must be connected to the Internet before completing this step.
example1: Network Sign-in icon Windows 10

example 2: Network Sign-in icon Windows 11

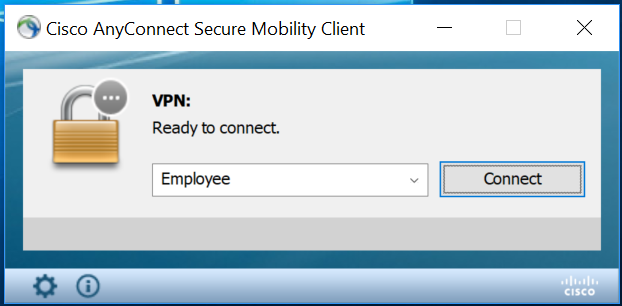
The Cisco AnyConnect VPN client will launch.

Confirm that the word Employee appears in the Ready to Connect box, then click Connect.
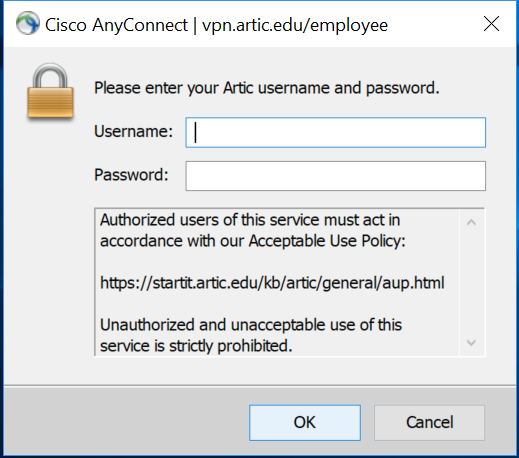
Log in with your ARTIC (Single Sign-On) username and password and click OK.
Enter 1 in the Answer field to receive a Duo Push to the Duo Mobile app on your smartphone. Please have your smartphone with you and be prepared to complete the multi-factor authentication process. Click Continue.
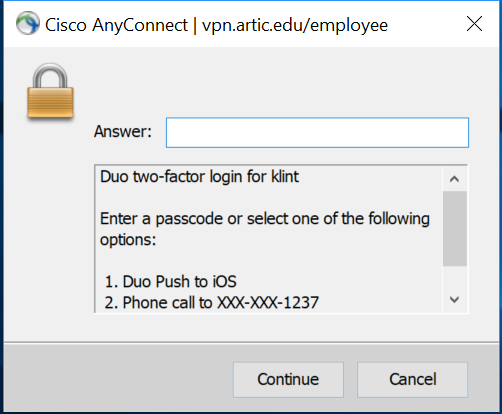
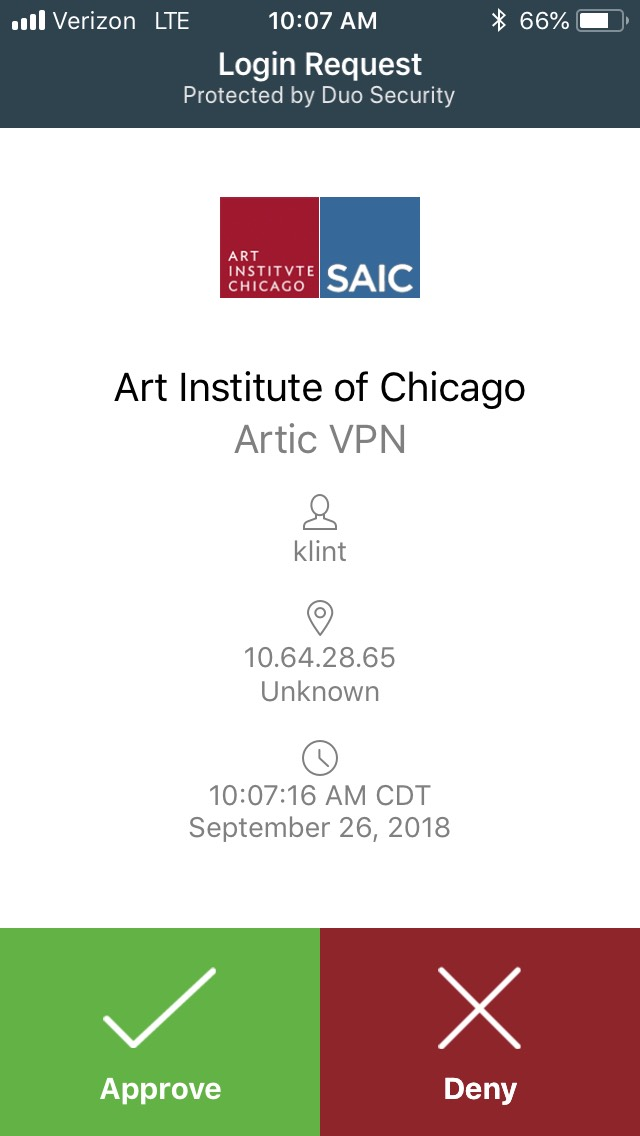
Tap Approve in the Duo Mobile app on your smartphone to complete the multi-factor authentication process.
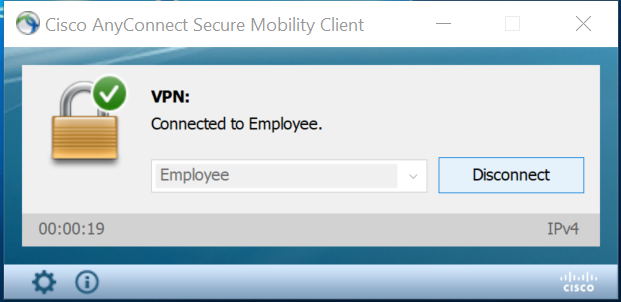
Upon returning to the Windows 10 login screen, you’ll notice an additional icon in the lower right corner of the screen that allows you to disconnect your VPN session. The presence of this icon indicates that you have established a VPN session and are now connected to the Art Institute’s network as if you were on campus. Enter your Windows User name and Password, then hit Enter to log into your laptop.

Once logged into Windows and at the desktop, verify that you have access to your file server drive mappings.

To disconnect from VPN, simply Sign Out of Windows. Alternatively, open the AnyConnect client by selecting the AnyConnect icon from the system tray and click Disconnect.
As always, first make sure to save and close all files that were opened on the file server in order to ensure that the files remain accessible from your laptop and office computers, and that the files don’t become corrupted.